
Image galleries are one of the most effective ways to showcase your work, products, or projects. Whether you're a photographer, a business displaying case studies, or an agency building client sites, a clean, well-organised gallery makes a strong first impression.
The challenge with Joomla is finding a gallery solution that doesn't load a mountain of dependencies or require complex configuration. Most options are either too heavy or too limited.
This guide shows you how to add a responsive image gallery to any Joomla 5 or 6 website using GalleryLab — a free, lightweight extension built specifically for Joomla.
Step 1: Install GalleryLab
Download GalleryLab from the TDC Lab extensions site. You'll need a free account to access the download.
Once downloaded, go to your Joomla admin panel and navigate to System > Install > Extensions. Upload the package file and Joomla will install both the component and the plugin automatically.
After installation, make sure the GalleryLab plugin is enabled under System > Plugins.
Step 2: Create a New Gallery
Go to Components > GalleryLab in your Joomla admin. Click New to create your first gallery.
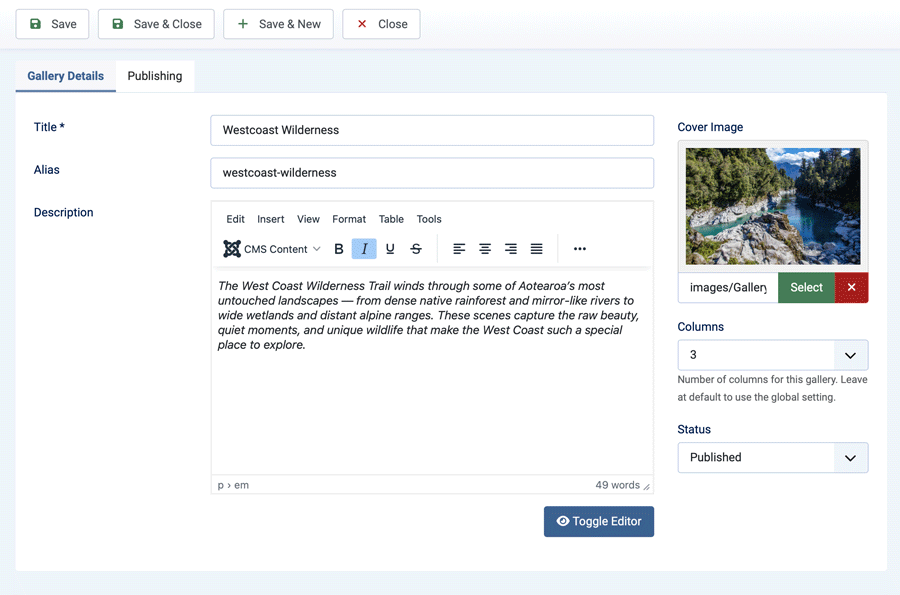
Give your gallery a title and an optional description. GalleryLab will automatically generate a URL alias from the title, which keeps your gallery URLs clean and SEO-friendly.
Step 3: Add Your Images
With your gallery saved, you can add images in two ways:
Upload images individually — click New Image, fill in a title and optional caption, and upload your image file. Captions appear directly in the lightbox when visitors view the full-size image.
Import from Media Manager — if you've already uploaded images to your Joomla Media Manager, use the Quick Add feature to import an entire folder at once. GalleryLab automatically generates thumbnails for each imported image, so your gallery grid loads quickly without sacrificing full-size quality in the lightbox.
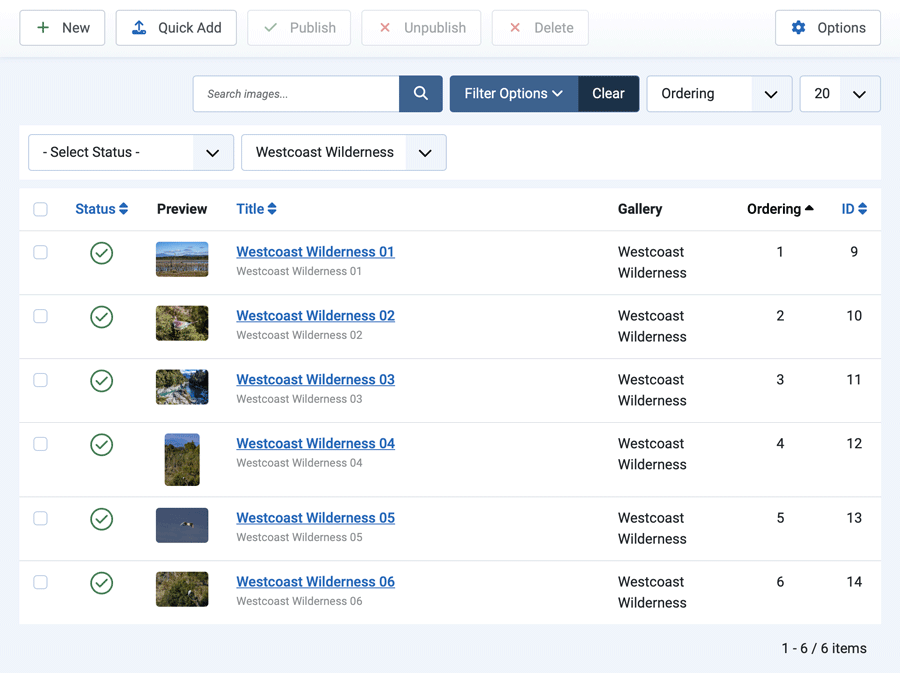
Step 4: Reorder Your Images
Once your images are added, you can drag and drop them into the order you want. Filter the image list to your gallery, drag the rows into position, and click Save Order.
This is particularly useful for portfolios or project galleries where the sequence of images matters.
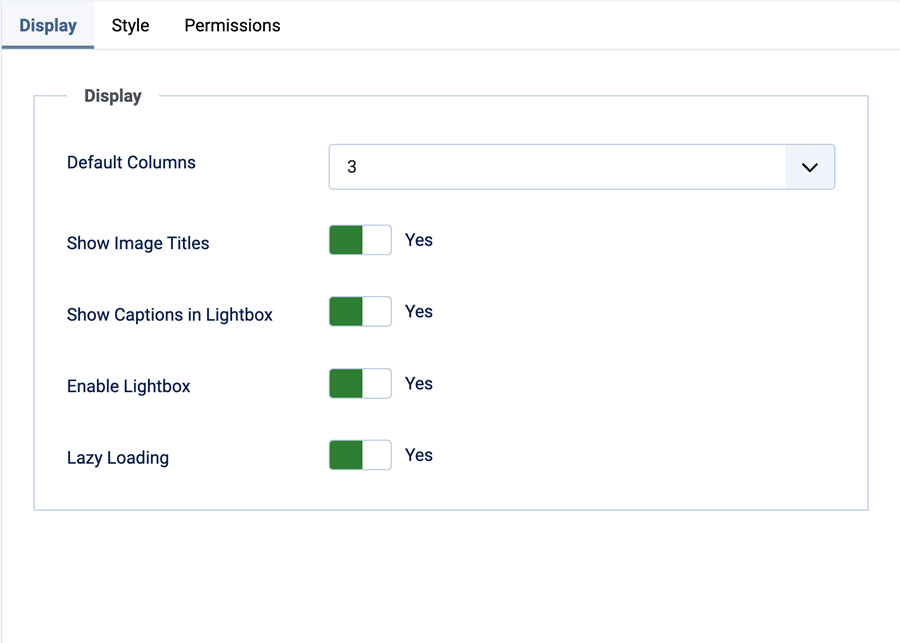
Step 5: Configure the Layout and Display Settings
GalleryLab gives you control over how the gallery looks without requiring any custom CSS. In the gallery settings you can:
- Set the number of columns (2 to 6), with automatic breakpoints for tablet and mobile
- Choose a hover effect — Zoom, Fade, or None
- Adjust spacing, border radius, and overlay colours
- Enable or disable the image title overlay
Step 6: Publish the Gallery on Your Site
GalleryLab creates a standard Joomla menu item for your gallery listing and individual galleries. Go to Menus > Main Menu (or whichever menu you use) and add a new menu item pointing to your gallery.
You can also embed a specific gallery directly into any Joomla article using a shortcode:
{gallerylab ID}
Replace ID with the gallery's numeric ID from the Gallery Manager list.
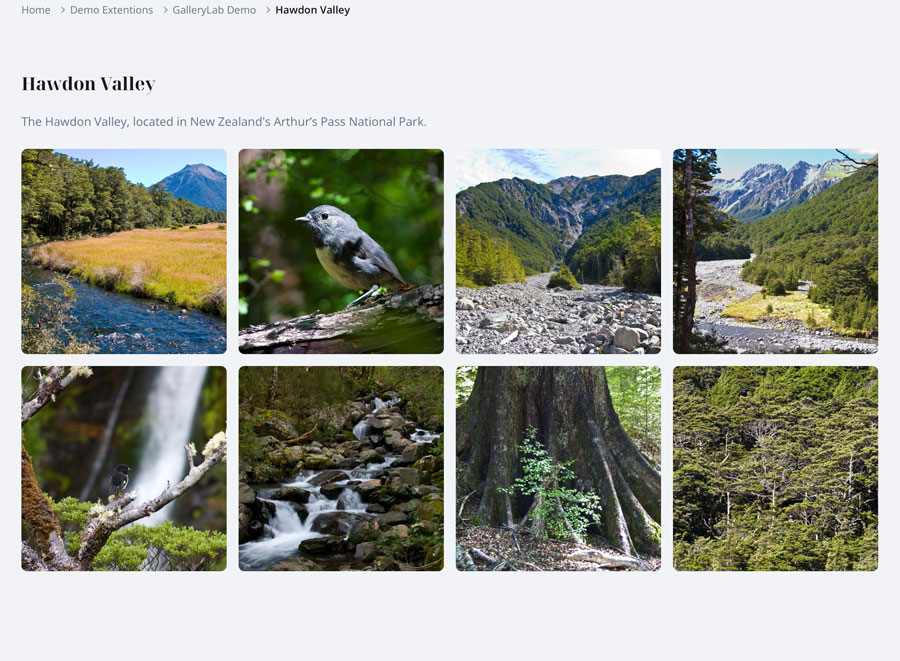
Step 7: View the Result
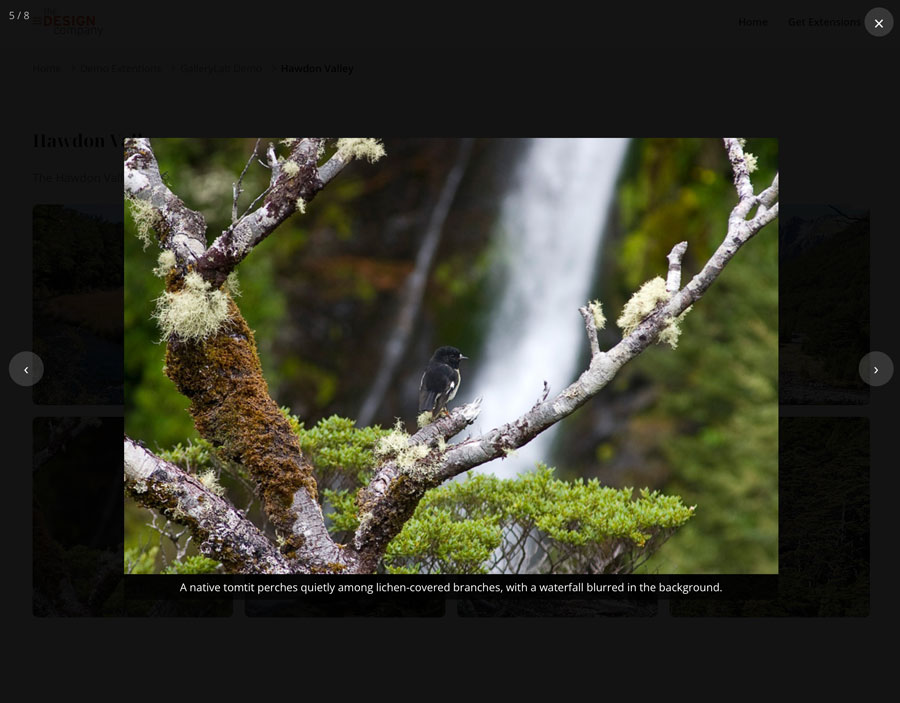
Once published, visitors will see your images displayed in a clean responsive grid. Clicking any image opens the built-in lightbox — a full-screen viewer with smooth navigation, keyboard support, touch swipe on mobile, and captions displayed below the image.
No plugins, no external scripts, no CDN dependencies. Everything is handled by GalleryLab's vanilla JavaScript lightbox.
Final Thoughts
GalleryLab makes it straightforward to add professional image galleries to any Joomla 5 or 6 site. The setup takes only a few minutes, the output is fast and responsive, and there's nothing to configure on the server side.
It's free to download and works out of the box.